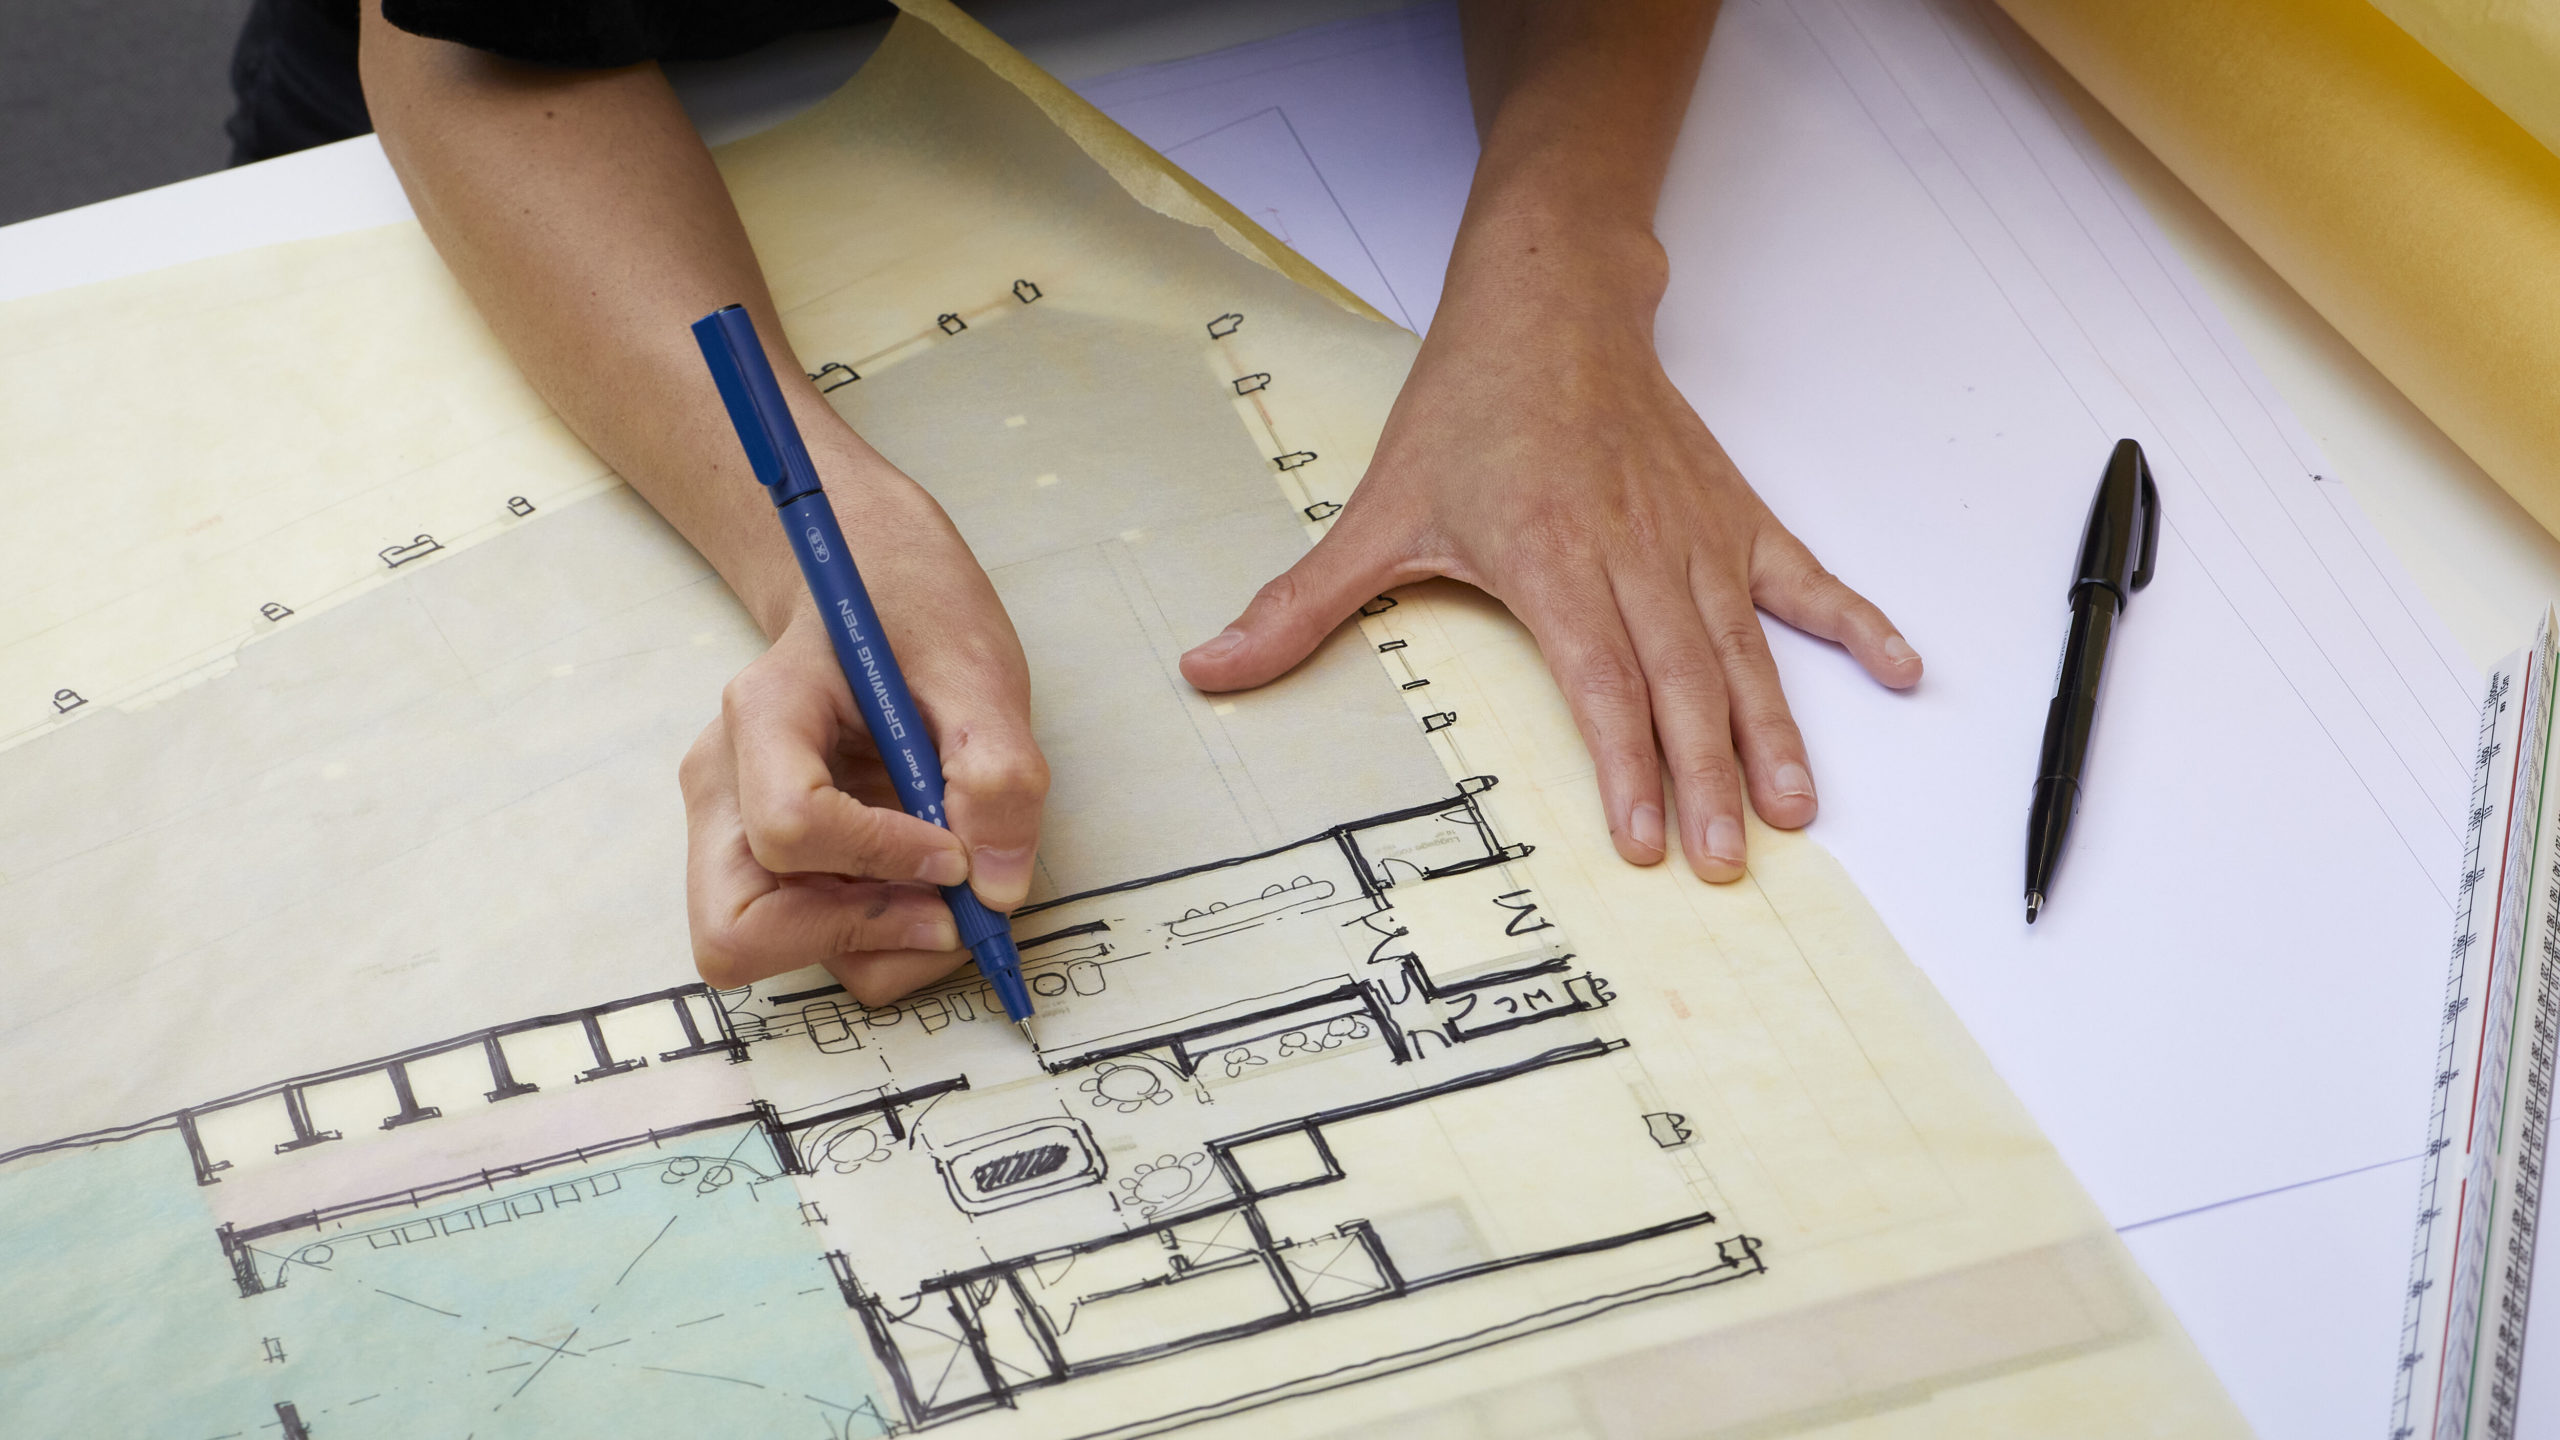
To produce a metal-etched part for a Make model, we draw it up in CAD and send it to a specialist firm, where they lay out the CAD data to make a pair of ‘phototools’, or transparencies, of the part. These tools are then used to apply a photo-resistant ink onto both sides of a thin metal sheet.
The metal then passes through a machine which sprays it with an acid solution. Where the print is applied, the ink resists the acid and preserves the metal. Where there is bare metal, the acid eats through it, leaving a crisp hole. By printing both sides, the etching can be controlled to create fully etched holes or half-etched details, like panel lines or brick and blockwork.
After cleaning and drying, the frames of parts are packed and sent to us, ready to be clipped out, painted or polished and, finally, applied to a model.


We commonly use etching to make components like railings, balcony balustrades, window frames and complex patterned facades. Parts can be 2D, or designed as flat elements with fold lines, that are then bent to shape, glued together or attached to other model elements. A variety of metals can be etched, though we mostly use brass, stainless steel or nickel silver. Brass is generally used where a part will be painted, and stainless steel and nickel silver where we want the metal colour to be the final finish.
Metal-etched Make models
Our model of 5 Broadgate makes extensive use of stainless steel etching, to capture the finish of the real building’s distinctive facades. Etching allowed us to not only create a dazzling real metal quality, but also to express the panelled detail of the surface, along with the intricate roof vents. Another advantage of metals as a material is that they are totally light-tight, which is important with an internally lit model like this. With a laser-cut plastic model, we might have had to spray multiple layers of black paint to interior surfaces or apply light-blocking tape to seams to prevent light-bleed. With metal, this is just not a problem!
